In today’s digital age, touchscreen devices like smartphones and tablets have become essential tools for communication, work, and entertainment. While these devices are designed to be used with fingertips, a stylus can offer better precision and comfort, particularly for tasks such as drawing, handwriting, and detailed editing. Purchasing a stylus from a store can be expensive, but you can easily create one at home with materials you likely already have. In this article, we will show you how to make a stylus quickly and affordably.
Materials Needed
Before we begin, let’s gather the materials required for making your DIY stylus. Here’s a list of items you’ll need:
- An old pen or pencil
- Aluminum foil
- Cotton swab (Q-tip)
- Scotch tape or rubber bands
- Water
Once you have all of these materials, you are ready to assemble your stylus.
Step-by-Step Instructions
Step 1: Prepare the Pen/Pencil
Take an old pen or pencil that you no longer need. Remove any ink cartridges or erasers from the pen to ensure it is hollow. If you are using a pencil, make sure it is sharpened or cut to your preferred length.
Step 2: Insert the Cotton Swab
Take a cotton swab and cut it in half, using only one end. Insert the cut end into the hollow tip of the pen or pencil. This cotton swab will serve as the tip of your stylus.
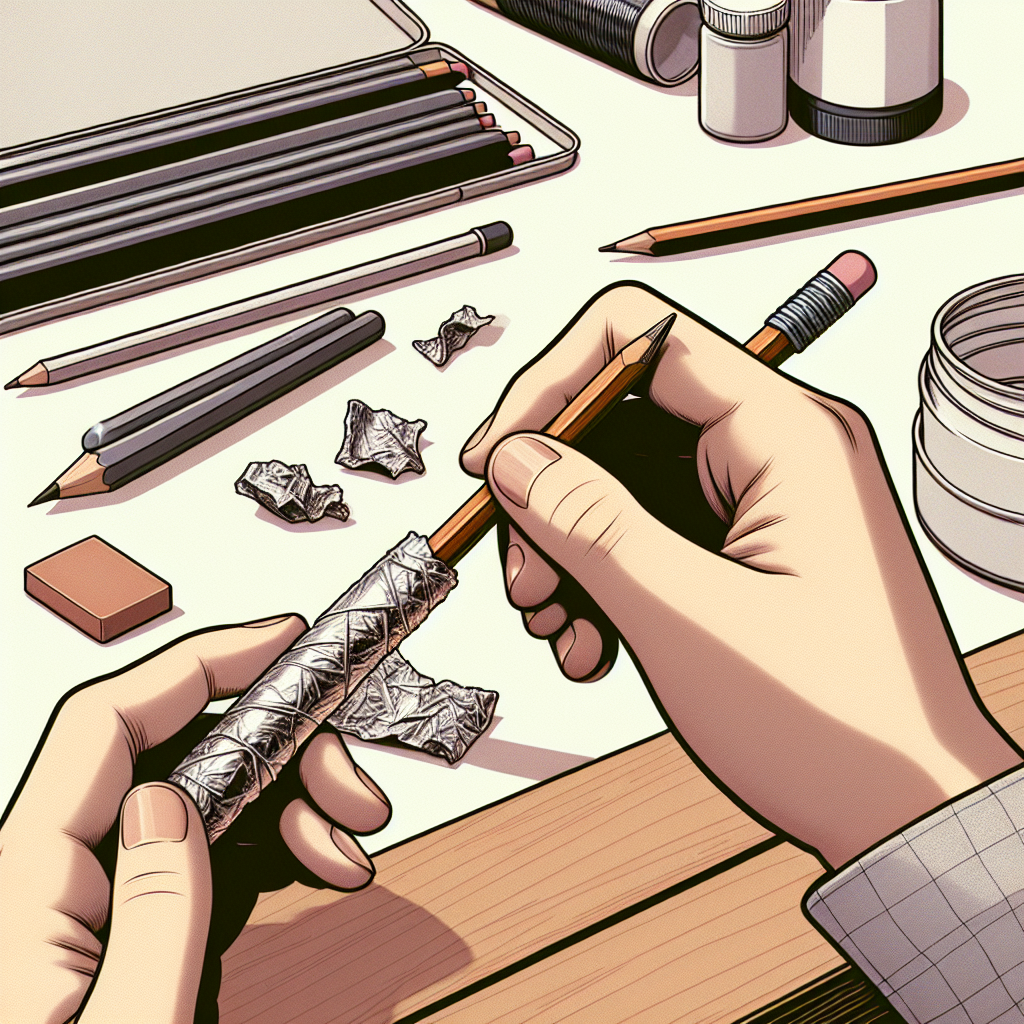
Step 3: Secure with Aluminum Foil
Wrap a small strip of aluminum foil around the tip of the pen or pencil, ensuring that it covers both the tip and the cotton swab securely. The foil should make contact with the cotton swab and extend enough to cover the area where you will hold the pen or pencil.
Step 4: Fasten the Foil
Use scotch tape or rubber bands to fasten the aluminum foil securely to the pen or pencil. Make sure the foil is tight and smooth for optimal performance.
Step 5: Moisten the Cotton Swab
Dip the tip of the cotton swab (the exposed part) lightly into water. Squeeze out any excess water to ensure it is damp but not soaking wet. The moisture helps to improve the conductivity of the stylus.
Tips for Using Your DIY Stylus
- Make sure the aluminum foil is smooth and tightly wrapped to ensure good conductivity.
- Keep the cotton swab slightly damp for optimal performance.
- If the stylus stops working effectively, check to see if the moisture level of the cotton swab needs to be adjusted.
- You can use different sizes of cotton swabs or experiment with different materials for the tip to achieve varying levels of precision.
Troubleshooting Common Issues
- The stylus isn’t working: Ensure the aluminum foil is in direct contact with the cotton swab and that it’s tightly wrapped. Double-check that the cotton swab is damp.
- The stylus skips or doesn’t register properly: Adjust the dampness of the cotton swab. Both too much and too little moisture can affect performance.
- The tip is too bulky for precise work: Try using a smaller piece of cotton swab or different material for the tip for more detailed tasks.
Final Thoughts
Creating a DIY stylus is a simple and cost-effective solution for those who need more precision or comfort when using touchscreen devices. With just a few household materials, you can make a stylus that is both functional and effective. Whether you’re an artist, student, or tech enthusiast, a homemade stylus can enhance your digital experience without breaking the bank. Give it a try and see how it compares to store-bought options!

