
In the age of remote work, live streaming, and online meetings, having the right lighting setup for your webcam is crucial. Whether you’re a professional looking to make a strong impression or a content creator aiming for high-quality output, the right lighting can make all the difference. This article will guide you through the best lighting setups for webcam use, along with tips and techniques to perfect your video calls and recordings.
The Importance of Good Lighting
Good lighting impacts the quality of your video feed enormously. Poor lighting can result in grainy videos, causing distractions and making you appear unprofessional. The goal is to achieve a balanced, well-lit appearance where your face is clear, shadows are minimized, and you look your best.
Types of Lighting Setups
Several lighting setups can enhance your webcam quality. Here are some of the most effective:
- Natural Light
- Ring Light
- Softbox Lighting
- LED Panel Lighting
- Three-Point Lighting
- Practical Room Lighting
Natural Light
Natural light is often the best and most accessible light source for your webcam. Position yourself facing a window to take advantage of soft, even light that enhances your video quality.
Ring Light
Ring lights are circular lights that provide uniform illumination, making them ideal for webcam use. They help to eliminate shadows and highlight facial features evenly.
- Advantages
- Compact and easy to set up
- Provides even lighting
| Model | Price | Features |
|---|---|---|
| Neewer Ring Light | $49.99 | Adjustable brightness, USB power |
| Elgato Ring Light | $199.99 | WiFi enabled, adjustable color temperature |
Softbox Lighting
Softbox lighting setups diffuse light through a fabric interface, softening shadows and producing professional-grade light. These are frequently used in studio settings for consistent, high-quality lighting.
- Advantages
- Softens and spreads light
- Reduces harsh shadows
LED Panel Lighting
LED panel lights are versatile lighting solutions that can be fully customized to achieve your desired light intensity and color balance. They are user-friendly and adaptable for different environments.
- Advantages
- Energy-efficient
- Customizable settings
- Offers a broad range of brightness levels and color temperatures
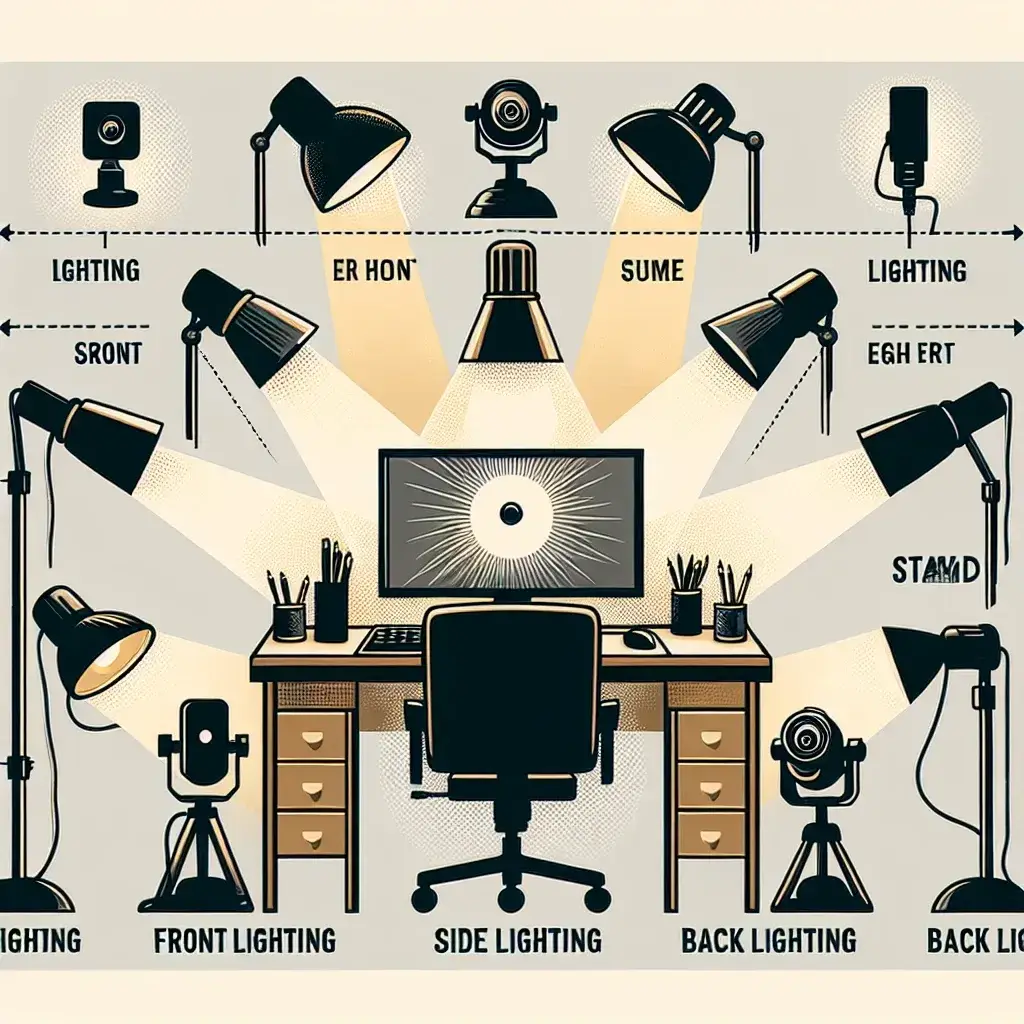
Three-Point Lighting
Three-point lighting is a traditional technique used in photography and videography that consists of a key light, fill light, and backlight. This setup is effective at highlighting subjects and creating depth.
- Components
- Key Light: The primary source of light
- Fill Light: Reduces shadows created by the key light
- Back Light: Separates the subject from the background
Practical Room Lighting
Leveraging the existing lighting in a room can also work well for webcam purposes. This could involve using desk lamps, ceiling lights, and other regular lighting sources. While not always as effective as specialized lighting, practical room lighting can be improved with a few adjustments.
Lighting Techniques for Webcam Use
Once you have your lighting setup ready, consider these techniques to maximize their effectiveness:
- Position the Light Source Properly to avoid harsh shadows. Lights should be placed at a 45-degree angle from your face.
- Adjust the Light Intensity according to the environment and time of day. Softer lights work better during the day, while brighter settings are preferable for nighttime.
- Avoid Overhead Lighting as it can create unflattering shadows and highlights on your face.
- Use Reflectors to soften and bounce light onto your face, minimizing shadows and highlights.
Common Lighting Mistakes to Avoid
Even with the right setup, common lighting mistakes can ruin your video quality. Here are a few to watch out for:
- Using Only Overhead Lights, which create unappealing shadows and uneven lighting.
- Ignoring Ambient Light, such as desktop monitors and background lights, which can interfere with your main light source.
- Positioning Lights Too Close, causing harsh highlights and unflattering shadows.
- Incorrect Color Temperature. Your lights should match the color temperature of other light sources in the room.
Tips for Different Settings
Work From Home
For daily video calls, a ring light or LED panel light can offer sufficient illumination. Position yourself facing a light source and minimize background distractions.
Live Streaming
For live streaming, a three-point lighting setup is ideal to ensure you are well-lit from all angles. This setup adds depth and professionalism to your stream.
Content Creation
Content creators should invest in versatile solutions like softbox lighting or LED panel lights, as they provide high-quality, adjustable lighting suitable for various scenes.
Conclusion
Choosing the right lighting setup for your webcam use can significantly enhance your video quality. Whether you opt for natural light, a ring light, softbox, or advanced three-point lighting, the key is to position your lights correctly and adjust settings to fit your specific needs. By avoiding common mistakes and following our tips, you’ll be able to present yourself in the best possible light during any webcam usage.